Using the Immich API
What’s an API? (And Why Should You Care?)
Imagine you’re at a restaurant. You look at the menu, pick your favorite dish, and tell the waiter what you want. The waiter takes your order to the kitchen and brings your food back to you. Easy, right?
In the tech world, an API (Application Programming Interface) is like that waiter. It helps two systems talk to each other and share information. Without APIs, apps wouldn’t know how to fetch your favorite cat videos, send messages, or even show you the weather. (And who wants to live without cat videos?)
Why Are APIs So Cool?
APIs are like magic bridges that connect different apps and systems. They make everything work together smoothly. Here’s what they can do:
- Fetch Stuff: Like grabbing weather updates or your social media feed.
- Send Stuff: Like uploading a photo or sending a message.
- Do Stuff Automatically: Like syncing your calendar with your email.
- Add Cool Features: Like adding maps or payment options to apps.
Think of APIs as the invisible helpers that make your apps smarter and your life easier.
Meet the Immich API: Your Photo Superpower
Now that you know what APIs are, let’s talk about the Immich API. It’s like a superhero for your photos! Here’s what it can help you do:
- Build your own custom photo gallery.
- Automate backups so you never lose a memory.
- Create new apps that work with your photos.
The Immich API is here to make managing your photos fun, easy, and powerful. Whether you’re a developer or just someone who loves photos, it’s got everything you need to take your photo game to the next level!
Meet the Immich CLI: Your Command-Line Helper
The Immich CLI (Command-Line Interface) is like a remote control for Immich that you can use right from your computer’s terminal. It’s super handy if you want to quickly upload photos, organize albums, or automate tasks without opening a browser.
What Do You Need to Use It?
Before you can use the Immich CLI, make sure you have these things ready:
Node.js and NPM:
The CLI runs on Node.js, so you’ll need to install it first. Don’t worry, it’s easy!- Go to nodejs.org and download the latest version.
- When you install Node.js, it also installs NPM (Node Package Manager) for you.
Immich Account:
You’ll need an Immich account to log in and use the CLI.Terminal Access:
You’ll be using your terminal (or command prompt) to run the CLI commands.
How to Install the Immich CLI
Once you have Node.js and NPM installed, installing the Immich CLI is a breeze. Just open your terminal and type this command:
npm install -g immich-cli
How to Upload Lots of Photos with the Immich CLI
The Immich CLI makes it super easy to upload a ton of photos in one go. Here’s how you can do it step by step:
Step 1: Get Your API Key
To use the CLI, you’ll need an API key from Immich. Think of it as a special password that lets the CLI talk to your Immich account. Here’s how to get it:
- Log in to your Immich account in your browser via https://
.pixelunion.eu - Go to Account settings and find the API Keys section.
- Click New API Key and give it a name (e.g., “CLI Uploads”).
- Copy the API key that’s generated. Keep it safe-you’ll need it in the next step and it gives access to you entire account, like a password!
Step 2: Log In to the CLI
Once you have your API key, you can log in to the CLI. Open your terminal and type:
immich <server url>/api <api key>
For example:
immich login https://myphotos.pixelunion.eu/api iVAhMOtRARhqHpU6b2NINOPunu0obdEy0SVBtJI5gYmcQOU
Step 3: Use the Immich CLI to Start Uploading
Once you’re logged in, you can start uploading your photos to Immich. The CLI provides a lot of flexibility, so you can customize how you upload your files. Here’s how to do it:
Basic Upload Command
To upload a folder of photos, use the following command:
immich-cli upload /path/to/your/photos
See the help for the CLI command for more information:
Usage: immich upload [paths...] [options]

Upload assets

Arguments:
  paths                       One or more paths to assets to be uploaded

Options:
  -r, --recursive             Recursive (default: false, env: IMMICH_RECURSIVE)
  -i, --ignore <pattern>      Pattern to ignore (env: IMMICH_IGNORE_PATHS)
  -h, --skip-hash             Don't hash files before upload (default: false, env: IMMICH_SKIP_HASH)
  -H, --include-hidden        Include hidden folders (default: false, env: IMMICH_INCLUDE_HIDDEN)
  -a, --album                 Automatically create albums based on folder name (default: false, env: IMMICH_AUTO_CREATE_ALBUM)
  -A, --album-name <name>     Add all assets to specified album (env: IMMICH_ALBUM_NAME)
  -n, --dry-run               Don't perform any actions, just show what will be done (default: false, env: IMMICH_DRY_RUN)
  -c, --concurrency <number>  Number of assets to upload at the same time (default: 4, env: IMMICH_UPLOAD_CONCURRENCY)
  --delete                    Delete local assets after upload (env: IMMICH_DELETE_ASSETS)
  --no-progress               Hide progress bars (env: IMMICH_PROGRESS_BAR)
  --watch                     Watch for changes and upload automatically (default: false, env: IMMICH_WATCH_CHANGES)
  --help                      display help for command
Wrapping It Up
The Immich API and CLI are powerful tools that make managing your photos easier, faster, and more fun. Whether you’re building custom apps, automating backups, or uploading a massive photo library, Immich has you covered.
If you’d like to dive deeper into the Immich CLI and explore all its features, check out the official documentation here: Immich CLI Documentation.
A huge thank you to the open-source community for creating and maintaining this amazing piece of software. Immich wouldn’t be possible without the dedication and hard work of developers around the world. If you love Immich, consider contributing or supporting the project!
Happy photo managing!
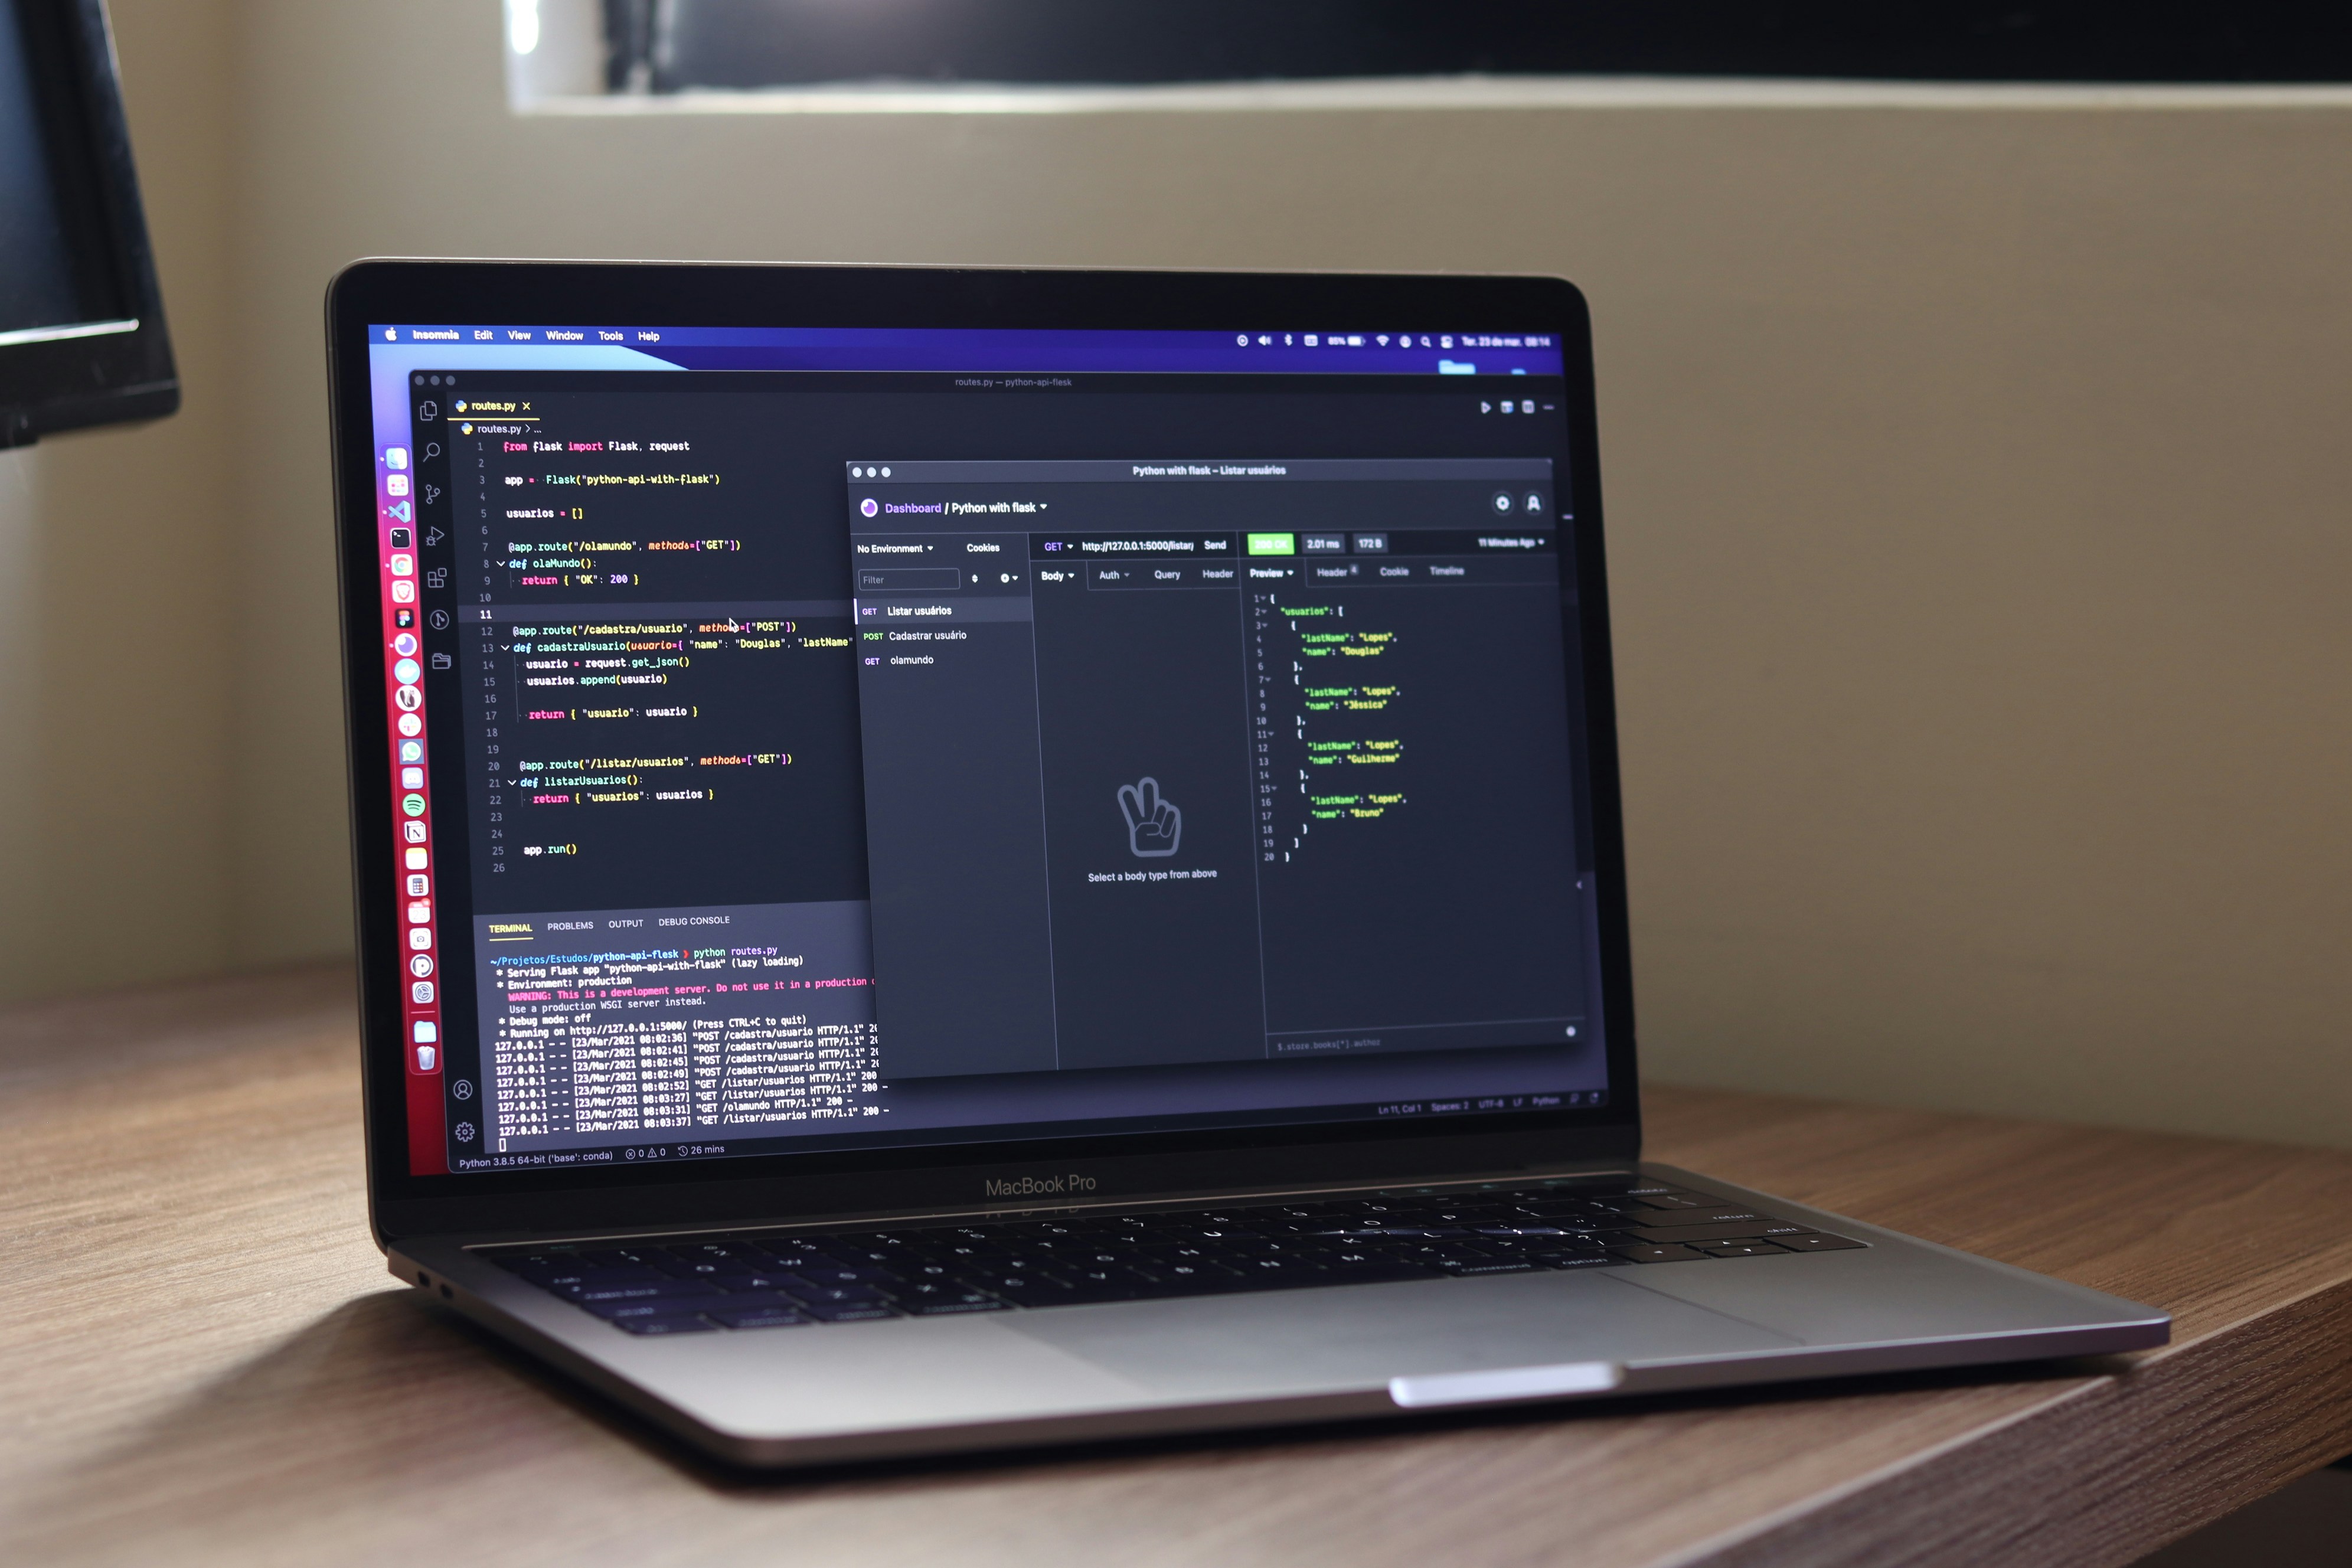
(cover image by Douglas lopez)